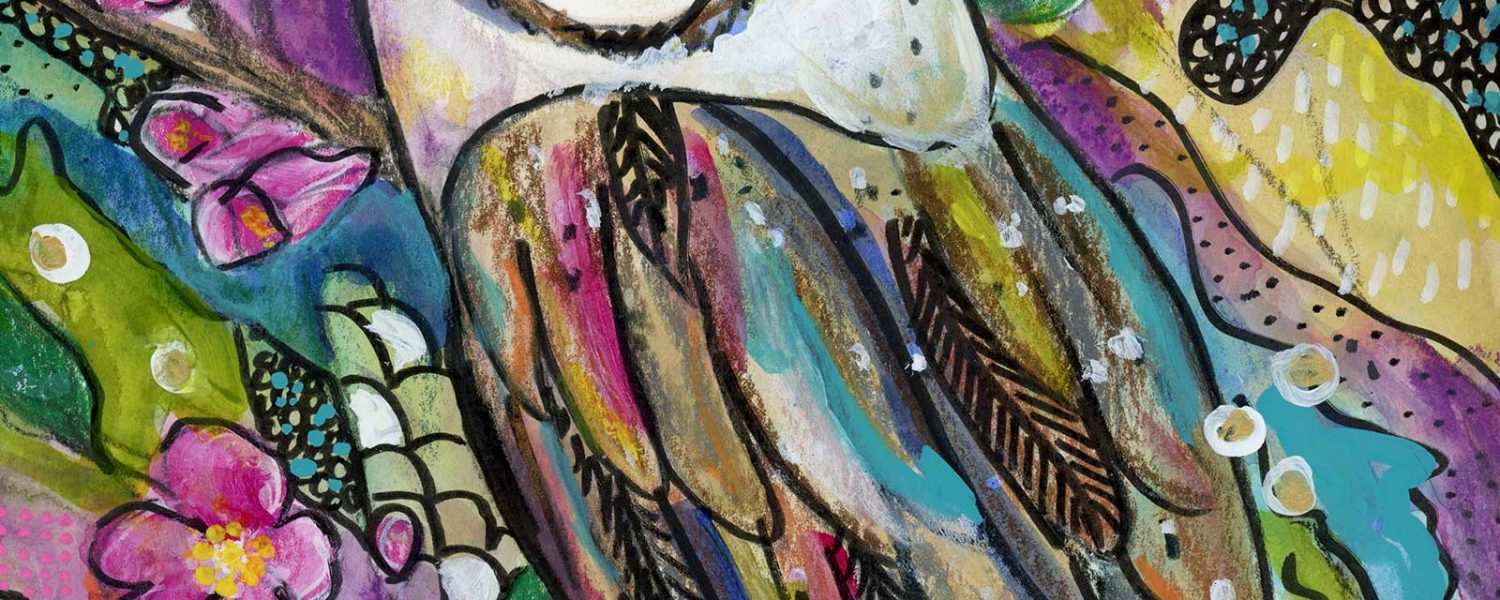
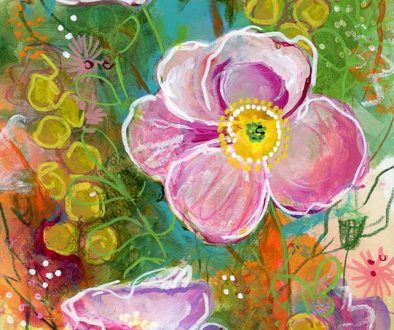
“Coloring” Owl and Cherry Blossoms
For this piece, I started with a coloring page that I had drawn. I’ll try and step you through my process a bit. Unfortunately I didn’t really plan on writing this up, so I didn’t take photos this time, but hopefully this will help step you through my process and give you some new ideas.
MATERIALS: Strathmore Series 400 cold press watercolor paper, Golden fluid acrylics, Prismacolor colored pencils, Neocolor II wax crayons, POSCA paint pens, and Sakura Pigma black markers, carbon paper
STEP 1: If you have a printer that will let you print on card stock, you can print your coloring pages on heavy weight paper to give you more coloring options. However, this watercolor paper is too think for my printer, so I used carbon paper to transfer the owl and flowers. I tape down my paper, then the carbon paper, and then my owl print on normal copy paper. I use a pen to trace.
STEP 2: The first layer I did was a wash of acrylics. Browns for the owl, pinks for the flowers, and then blues and greens for the background.
Step 3: After I let the paint dry completely, I used colored pencils to add more color and details to the owl and flowers.
Step 4: I then added black outlines with the black marker, dividing up the background into interesting shapes based on color. I then added pattern to areas.
Step 5: Then I used the paint pens to add more details and patterns all over the piece.
Step 6: At this point I went back in with the acrylics and the wax crayons to add color and color washes to the whole piece, including the owl.
Step 7: I finished with some metallic gold on the owl just for fun.


