Paper, boards, and more!
Last week I talked about the different mediums I use. You can find all that information here. This week I am going to continue with what supports I work on and a bit about my varnish process.
Colored Pencil Works
When I going to create a 100% colored pencil piece, my subject helps determine what paper I am going to use.
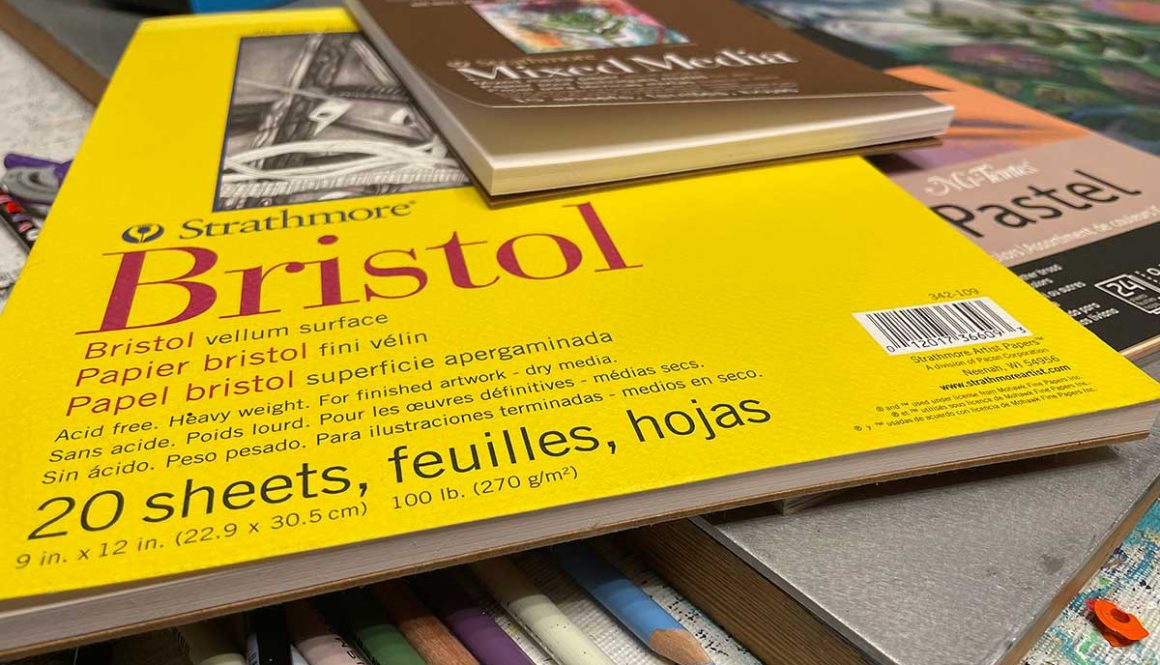
Strathmore Bristol Vellum
This is my go-to paper in general for colored pencil. And I am equally happy with any of the series Strathmore offers including 300, 400, and 500.
Canson Mi-Teintes
If I am working on a furry animal, I love using Canson Mi-Teintes. This paper is aimed at pastel artists and has a rough and smooth side. I use the smooth side for colored pencils.
Stonehenge
People are not really my thing, but Stonehenge paper is fantastic for people portraits.
Wood Panels
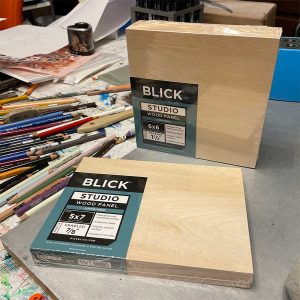
I have drawn directly on wood panels with colored pencils as well. My favorite panels are Blick Studio or Blick Premier wood panels.
Mixed Media
My subject and overall plans for what I want to do with a piece again help determine what surface I am going to work on.
Wood Panels
Working directly on wood panels is one of my favorite options. Again, my favorite panels are Blick Studio or Blick Premier wood panels.
Strathmore Mixed Media Paper Series 400
I love Strathmore’s mixed media paper if I know I want to use colored pencil and washes of watercolor or acrylics. It is a sturdy paper that takes a lot of abuse.
Strathmore Watercolor Paper Series 400
Sometimes I used watercolor paper if I know the main parts of the piece will be paint instead of colored pencil. I like the texture the watercolor paper adds to the piece.
Sticky Stuff
Gel Medium
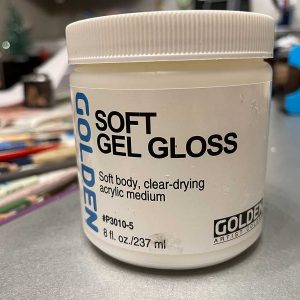
For mixed media pieces I use a gem mediums as my glue. Liquitex and Golden both offer gel mediums that dry clear and work well. You can also use this to seal your piece.
Grafix Double Tack Mounting Film
If I’ve created a piece on paper and want to adhere it to a wood panel, I use double tack mounting film. It is a giant, acid-free, double-sided sticker. It takes practice, so don’t try this for this first time on a finished piece. When I started using this method, I would actually adhere the paper to the board before I ever drew on it. I adhere the film to the wood first. I peel back one edge a few inches, and then I use a brayer to help make sure it is flat and smooth as I slowly peel back the backing. For the art side, I peel back the backing a few inches, line up the art, press it from one corner to the other, and then follow the same process…slowly peeling the backing as I press and use the brayer to smoothly adhere the art.
Varnish Process
I only varnish pieces that are on wooden panels or have been adhered to wooden panels. I do not varnish colored pencil pieces I am going to frame. I use the gel medium to seal mixed media pieces I plan to frame.
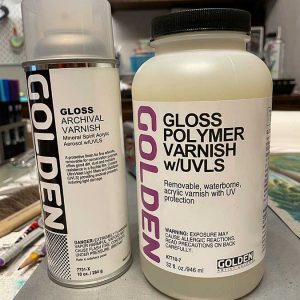
I start with three layers of Golden Archival Spray Gloss Varnish. If I don’t want a gloss varnish, I then do three layers of whatever finish I do want. For some pieces, especially 100% colored pencil pieces, the spray varnish is my final step to protect the piece.
For mixed media pieces, I usually do an additional varnish step with three layers of Golden Polymer Varnish with UVLS. This is a paint-on product that I thin with water. It also comes in various finishes. Whatever finish I finished with for the spray is what I use for this type as well, so gloss over gloss, satin over satin, etc.
